How to Play Survive The Slope!
A deep dive into the slide → dodge → bones → cash → upgrade loop that defines every session.
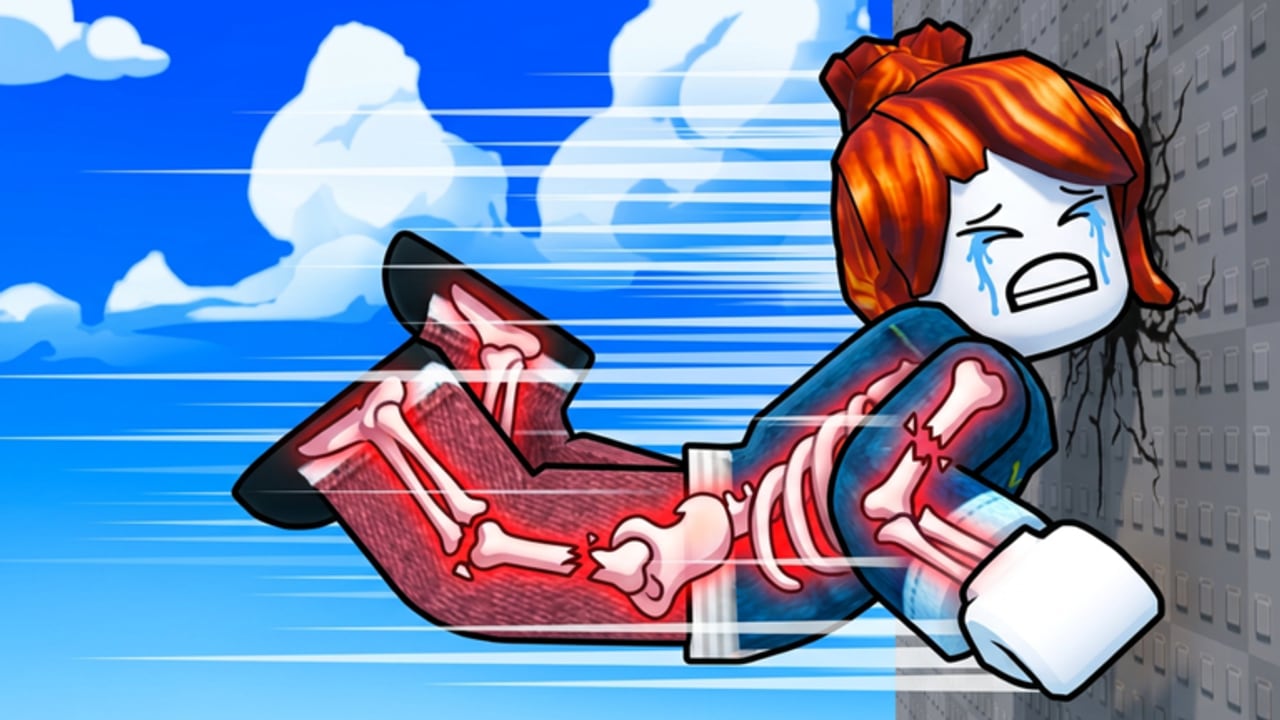
This How to Play guide explains Survive The Slope! as a complete system, not a single tip list. If Getting Started is your onboarding, this page is the rulebook for why each run feels the way it does. The game is a Roblox physics sim from StarBite Bones (ops: BCH Studios): max six players, Desktop/Mobile/Tablet support, distance-driven economy, and a bone-break failure state.
Disambiguation: you are not playing browser Slope, Slippery Slopes, or Survive The Swarm. Those titles do not share this exact cash-and-skeleton fantasy.
Win condition vs fail condition
Survive The Slope! does not use a single final boss clear as its primary fantasy. Your soft “win” each attempt is maximize distance before death, then convert that distance into progression. Your hard fail is simple:
All bones broken → run over.
Everything you buy, practice, or optionally purchase with Robux exists to delay that fail state or to earn more from the distance you achieve before it happens. Internalize that and the rest of the UI makes sense.
Phase 1 — Lobby and intent
Before you launch:
- Decide whether this attempt is a practice run, a cash farm run, or a personal best attempt. Mixing intents causes greedy steering.
- Check whether an update banner appeared—Items and Races content can change menus. Skim Updates when something looks new.
- Confirm controls if you swapped devices (Controls).
- Glance at your upgrade balance. If you are one rank from a key health or cash node, a short safe farm may beat a reckless PB try.
Lobby time is part of playing well. Instant queueing into chaos is how beginners burn attention.
Phase 2 — Launch and early slope
The opening stretch teaches acceleration. Early mistakes include:
- Holding a hard turn as if the avatar were an on-rails cart
- Ignoring center-line discipline when obstacles are sparse
- Tapping frantically on mobile and inducing oscillation
Play the early slope as a warm-up for input latency. Tiny corrections beat wide arcs. Speed will rise whether you ask for it or not; your job is to keep a recoverable line when it does.
Phase 3 — Mid-slope obstacle reading
As distance grows, hazard density and speed interact. Strong players do not “react to every pixel”; they read lanes. Ask:
- Which side stays open two beats ahead?
- Is this gap real or a bait into a second collider?
- Am I early, late, or on time for the next gate?
Hits here are usually chip damage that matters later. Surviving mid-slope with most bones intact is how late-slope miracles happen. See Bones & Damage for why “I got hit but kept going” is still expensive.
Phase 4 — Late slope pressure
Late distance is where leaderboards are won and lost. Inputs feel heavier because velocity magnifies error. Priorities flip:
- Protect remaining bones over stylish near-misses
- Prefer the safe open lane over a risky shortcut that saves half a second
- Accept a clean good score instead of a heroic line you have not practiced
High Distance Tips expands this phase into attempt structure and mental resets.
Phase 5 — Death, payout, shop
When bones are gone, the run resolves into cash from distance. That cash is the real meta progression resource. Immediately:
- Note the death cause in one sentence (“late left turn into block,” “three chips then a wall”).
- Open upgrades only if you already know your bottleneck.
- Buy one intentional rank, then re-queue. Shopping sprees without another run create placebo builds.
Use the Upgrades Guide and Upgrades Tier List so health, cash mult, and control stay balanced for your stage.
Economy logic (why distance matters twice)
Distance matters once as a score flex and again as income. Players who only chase highlight scores sometimes under-upgrade and plateau. Players who only min-max cash sometimes never practice late-slope discipline. Alternate sessions:
- Farm blocks: safer lines, upgrade goals, accept mid scores
- Push blocks: spend saved margin on PB attempts with full focus
Optional 2x Cash / 2x Health / Auto Spin change the math but not the phases above.
Multiplayer context (max 6)
Servers are small. Other players can distract visually, but your bones are still your bones. Do not mirror a stranger’s suicidal line because they are ahead on the temporary board. Learn from clean survivors, not from whoever happens to be loud in chat.
What “getting good” looks like
You are improving when:
- Average distance rises even if peak distance is flat for a week
- You can explain deaths without blaming “lag” every time
- Shop purchases map to problems you actually observed
- You survive long enough for cash multipliers to feel strong
- You no longer search for scripts after one bad night (Scripts Hub)
Session template you can copy
- Two warm-up slides (ignore score)
- Three farm slides (buy planned ranks)
- Two focused push slides (apply high-distance habits)
- One cool-down slide or stop—tilt farming wastes cash efficiency
Related pages
- Getting Started — first hour
- Controls — device inputs
- Bones & Damage — failure resource
- Upgrades Guide — shop mastery
- Guides Hub — full list
Frequently Asked Questions
Quick answers for Survive The Slope players.
What is the core loop of Survive The Slope!?
Slide for distance, dodge obstacles, manage bone damage, end when all bones break, earn cash from distance, buy upgrades, and repeat.
How do I get better besides buying upgrades?
Practice smaller steering corrections, read lanes early, review each death cause, and separate farm sessions from personal-best pushes.
Does multiplayer change how to play?
Servers hold up to six players, but your run still ends on your bones. Do not copy unsafe lines just because another player is ahead.
Should I always go for maximum speed?
No. Speed without control increases crash rate. Earn stable mid-distance first, then push speed with support from health and handling upgrades.
Where do codes fit into how to play?
Codes are optional free rewards when developers publish them. As of September 2026 none are publicly verified—see the Codes Hub.