Survive The Slope Upgrades Strategy Guide
Turn distance cash into longer Survive The Slope! runs with a clear health → income → control plan.
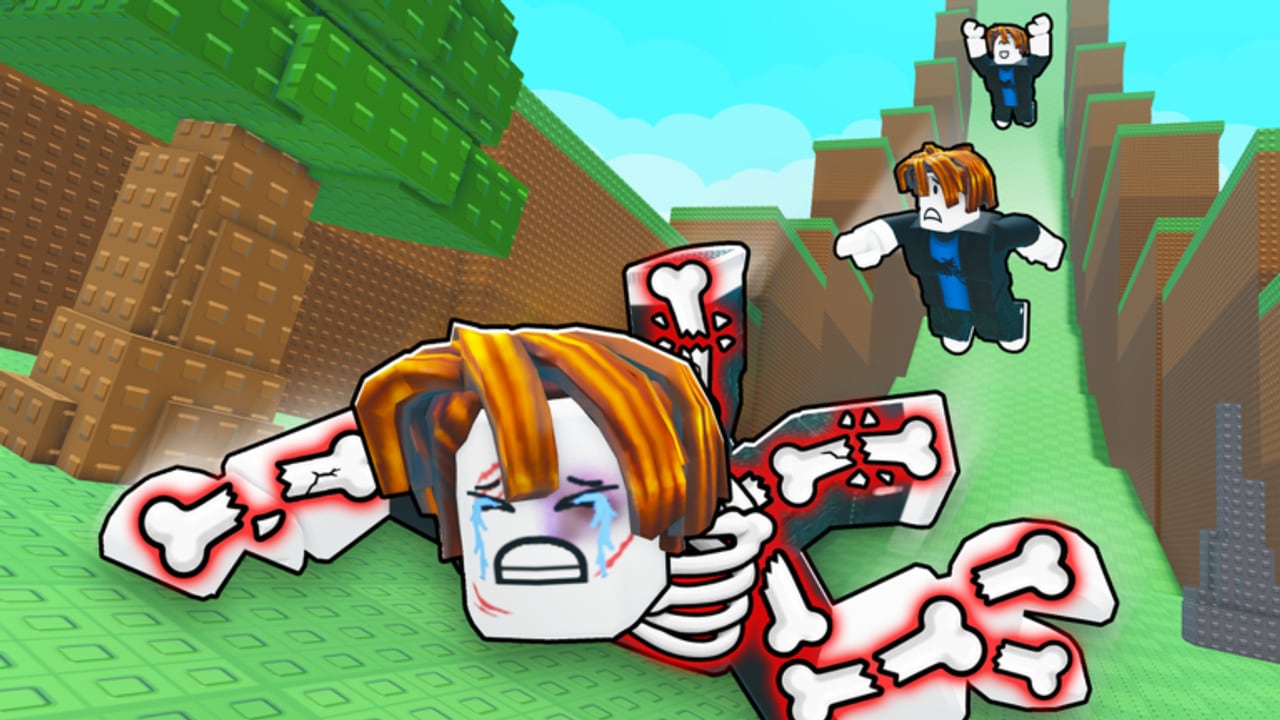
Cash upgrades are the long-term spine of Survive The Slope!. Every slide that ends with broken bones still feeds the shop if you earned distance. This guide teaches you how to spend that cash with intent so you do not stall in a weak hybrid build. For a compact S–C chart, use the companion Upgrades Tier List. For failure-state context, keep Bones & Damage open in your head while you buy.
What upgrades are for
Survive The Slope! (StarBite Bones / BCH Studios) converts distance → cash → permanent-feeling account power inside the physics loop. Upgrades generally push one of three outcomes:
- Survive longer (health / tank / fracture padding)
- Earn more per distance (cash multipliers)
- Move with more precision or speed (control / speed trees)
If a shop node does not clearly help one of those outcomes, treat it as low priority until Items or Races updates clarify its role (Updates).
The three-resource mindset
Think in bottlenecks, not in “buy whatever is highlighted.”
| Bottleneck you feel | Upgrade answer | Skill answer |
|---|---|---|
| Die early to chips/crashes | Health / tank ranks | Calmer steering (Controls) |
| Survive OK but shop is slow | Cash multipliers | Longer clean farm runs |
| Know the route but miss gaps | Control / handling | Look-ahead lane reading |
| Want flashy pace too soon | Delay speed ranks | Prove mid-distance consistency first |
Most stuck players buy speed because it feels active. Most climbing players buy the boring answer to their actual deaths.
Early game spending plan
Goal: create runnable mid-length attempts.
- Purchase the first affordable bone health ranks until a couple of scrapes no longer equal instant fail.
- Buy the first cash multiplier so those longer runs matter.
- Add a control tick if inputs feel slippery on your device.
- Stop. Take three runs. Reassess.
Avoid emptying your wallet into three trees at once. Feedback needs time. Getting Started pairs with this plan for hour-one structure.
Mid game spending plan
Goal: raise cash per hour and stabilize averages.
- Continue cash mult while returns still feel strong.
- Keep health competitive with rising speed and denser late obstacles.
- Invest in control so multiplier-powered runs do not die to avoidable wiggles.
- Add moderate speed only when your death notes say “I was stable but short,” not “I slammed a wall.”
Alternate farm sessions and push sessions as described in How to Play. Farm sessions exist to fund the shop; push sessions exist to test whether the shop actually helped.
Late game spending plan
Goal: personal bests and leaderboard respect.
Late slope attempts fail on single mistakes. That means:
- Finish remaining control and health value before vanity speed.
- Complete cash mult so failed PB attempts still refund practice time quickly.
- Treat experimental Items/Races nodes as tests on short runs before you sink a huge stash.
Then apply execution habits from High Distance Tips. Upgrades create margin; they do not aim for you.
Passes versus upgrades
Official passes change the feel of the same shop:
- 2x Health (149R) — fewer upgrade ranks needed to feel tanky; still buy some health.
- 2x Cash (149R) — every distance payout funds the shop faster; best when you already survive.
- Auto Spin (49R) — QoL for spins, not a substitute for bone or cash nodes.
Full ranking: Game Passes Tier List. Never buy a shady script that claims to clone these effects (Script Safety).
Session shopping ritual (steal this)
- Write one death cause after the run.
- Map that cause to health, cash, or control/speed.
- Buy one rank in that answer.
- Queue another run before touching a second tree.
- Every fifth purchase, review whether averages rose.
This ritual prevents the classic “I upgraded everything and nothing changed” spiral—usually caused by buying speed on top of bad lines.
Measuring whether an upgrade worked
Track simple stats for ten runs before and after a purchase cluster:
- Average distance
- Median distance (less noise than average)
- Deaths in the first quarter of the slope
- Cash earned per minute of real time
If median distance did not move, the cluster did not address your bottleneck—or your steering habits fought the investment. Fix habits with Controls before blaming the shop.
Update hygiene
When StarBite Bones / BCH Studios ship balance changes, especially around Items and Races:
- Read the Updates Hub.
- Re-identify what each shop button does in the live UI.
- Revisit the Upgrades Tier List for revised community priorities.
- Avoid panic respecs on day one if the game does not support clean refunds.
Related pages
- Upgrades Tier List — S–C chart
- Bones & Damage — why health ranks exist
- Game Passes — Robux accelerators
- High Distance Tips — spending margin on PB runs
- Guides Hub — full tutorial index
Frequently Asked Questions
Quick answers for Survive The Slope players.
What should I upgrade first in Survive The Slope!?
Early bone health ranks, then a cash multiplier, then light control. Delay deep speed investment until you can steer consistently.
Why did my upgrades not increase my score?
You may have bought speed on top of unstable lines, or ignored the real death cause. Track median distance and buy the bottleneck answer only.
Should I save cash for expensive late nodes?
Keep a small buffer if a major update is imminent, but generally buy steady ranks that fix today’s deaths instead of hoarding forever.
Do game passes replace upgrades?
No. Passes accelerate survivability or income. You still spend cash in the shop for long-term growth.
Where is the quick tier ranking?
See the Upgrades Tier List under the Tier List Hub for S–C community priorities by stage.