Survive The Slope Upgrades Tier List (Community)
S–C spend priorities for bone health, cash multipliers, and control—guidance, not an official balance patch.
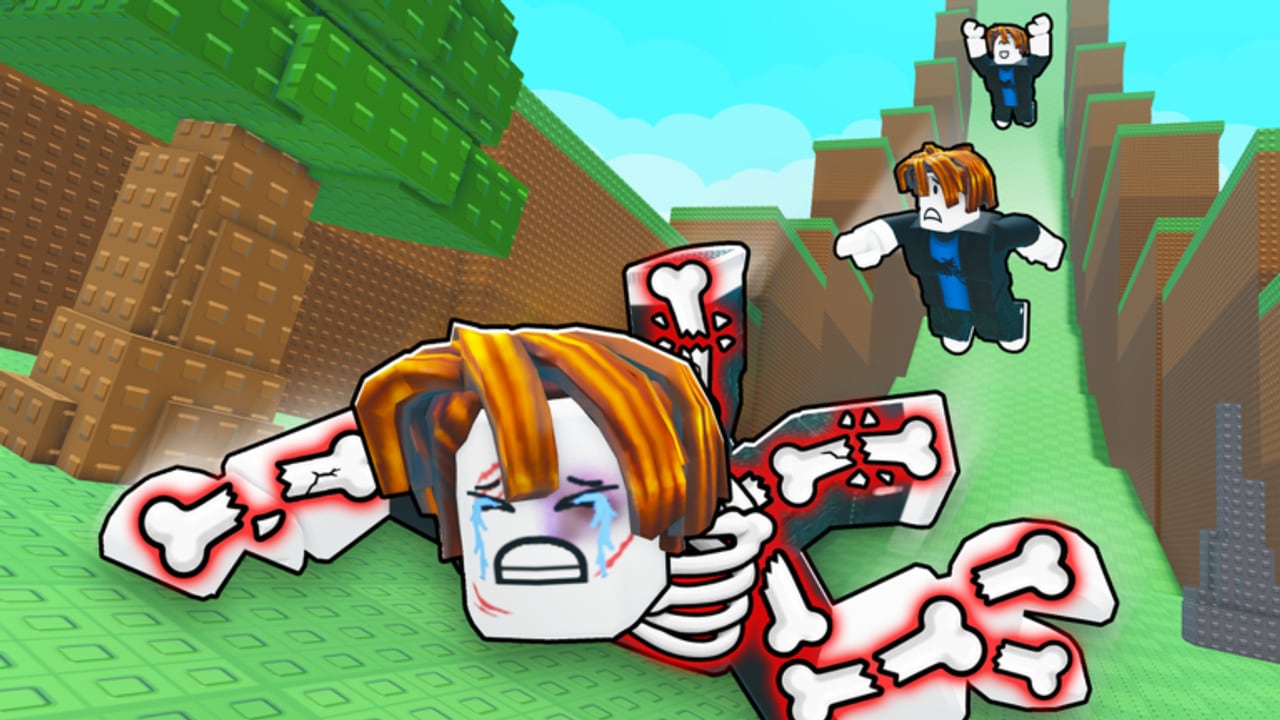
This Upgrades Tier List ranks how Survive The Slope! players should spend cash earned from distance. It is community priority guidance for the StarBite Bones physics loop, not an official developer sheet. Exact upgrade names and costs can shift after Items or Races updates—re-check values in-game and skim the Updates Hub after patches.
Core assumption: you slide, take hits that damage or break bones, end the run when all bones are broken, convert distance to cash, then buy upgrades that make the next slide safer or more profitable. Full systems context sits in the Upgrades guide and Bones guide.
Tier key
| Tier | Meaning |
|---|---|
| S | First priority almost every stage |
| A | Buy soon after S picks; high ROI |
| B | Good later or for specific goals |
| C | Low priority / luxury for most accounts |
Categories below group upgrades by role, because menus may rename individual nodes while the roles stay stable.
Role overview
Bone health / tankiness (survivability)
Anything that increases effective health, reduces fracture chance, or lets you survive an extra collision. In Survive The Slope!, dead runs earn nothing—so tank upgrades protect every other investment.
Cash multipliers (economy)
Anything that multiplies distance payout or related income. Multipliers shine once you can already finish medium runs; they waste potential if you still die in the first seconds every attempt.
Speed / control (handling)
Steering responsiveness, stability, or speed-related nodes. Control upgrades help you avoid hits. Pure speed without control often increases crash rate for beginners.
Early game tier list (first cash stash)
Goal: stop face-planting, bank a few reliable mid-length runs, unlock the feeling of the slope.
| Tier | Priority focus | Why |
|---|---|---|
| S | Bone health / tankiness (first levels) | Extra hits before game over beat every other stat on a new account |
| S | Basic cash multiplier (first levels) | Compounds the successful runs you just learned to finish |
| A | Light control / steering assist | Fewer avoidable wall clips while you learn timing |
| B | Minor speed bumps | Only after you can steer; speed amplifies mistakes |
| C | Deep speed trees / luxury nodes | Save cash; you need survival minutes first |
Early game buy order (practical): one or two health ranks → first cash mult → a control tick if steering feels slippery → repeat. Do not dump everything into speed because a YouTube short looked fast.
Pair this with the Getting Started checklist and Controls so mechanical mistakes do not waste your new tankiness.
Mid game tier list (stable farming)
Goal: raise cash per hour and survive long enough for multipliers to matter. You already understand obstacle rhythms.
| Tier | Priority focus | Why |
|---|---|---|
| S | Cash multipliers (continued) | Best pure progression lever once deaths are less random |
| A | Bone health (continued) | Softens spike difficulty as distance hazards densify |
| A | Control / stability | Enables cleaner lines that feed the multiplier |
| B | Speed (moderate) | Higher distance potential if control is already solid |
| C | Over-investing one tree only | Balanced accounts usually outpace glass-cannon speed builds |
Mid game tip: if your average run distance stalled, ask whether you die to damage (buy health) or bad lines (buy control / practice). Blindly buying speed rarely fixes either. Use How to Play to audit your loop timing between lobby upgrades and runs.
If you also spend Robux, compare whether 2x Cash or 2x Health duplicates the hole in your build before buying both.
Late game / high-distance tier list
Goal: leaderboard pushes and personal bests where one mistake ends a long investment.
| Tier | Priority focus | Why |
|---|---|---|
| S | Control precision + remaining health ranks | Long runs are lost on single mistakes more than on raw payout |
| A | Maxed or near-max cash multipliers | Converts elite distance into faster re-attempts |
| A | Situational speed | Useful when your line reading is already excellent |
| B | Experimental nodes from Items/Races updates | Test on shorter runs before all-in |
| C | Random dumps into unused trees | Opportunity cost vs. practicing high-distance lines |
Late game is where the High Distance Tips guide matters as much as the shop. Upgrades create margin; they do not auto-steer for you. Consider Auto Spin only as QoL if spin rewards still matter to your account—see the passes list.
Community S–C snapshot (roles)
| Tier | Roles |
|---|---|
| S | Early bone health; early–mid cash multipliers; late control for PB attempts |
| A | Ongoing health; mid control; late cash completion; moderate speed when stable |
| B | Early speed; experimental update nodes; niche race-oriented picks (when live) |
| C | Luxury speed before fundamentals; duplicate effects you already covered with passes |
Anti-patterns to avoid
- Speed first on day one — higher impact speed with weak bones ends runs sooner.
- Ignoring cash mult forever — pure tank builds survive but upgrade too slowly.
- Copying a maxed creator’s shop order — their passes and hours played differ from yours.
- Spending right before a major update without checking patch notes — Items/Races may retune nodes.
- Using scripts to “fix upgrades” — banned-risk tools are covered on Script Safety; they are not a tier.
How to apply this list in a session
- Play three sober runs and note whether you die to chip damage or mis-steers.
- Open the shop and map each button to health, cash, or control/speed.
- Buy one S-tier rank for your bottleneck.
- Take another run before spending the rest—feel the difference.
- Reassess; do not empty the wallet on three trees at once.
That cadence teaches the game faster than any static chart alone.
Related pages
- Tier List Hub — all rankings
- Game Passes Tier List — Robux value
- Upgrades Guide — deep strategy
- Bones & Damage — why health ranks matter
- High Distance Tips — using upgrades on PB runs
Frequently Asked Questions
Quick answers for Survive The Slope players.
Is this upgrade tier list official?
No. It is community priority guidance based on the slide → bones → cash → upgrade loop. Always confirm costs and names in your current game build.
What should I upgrade first as a beginner?
Early bone health ranks, then a basic cash multiplier, then light control. Leave deep speed trees for later.
When do cash multipliers become S-tier?
They are strong early too, but they become the clearest S-priority in mid game once you can survive long enough for the mult to pay for itself.
Should I max speed for leaderboards?
Only after control and health support long attempts. Uncontrolled speed usually lowers average distance even if peak theoretical speed rises.
Do Items or Races updates invalidate this list?
They can. After those updates, re-test roles in-game and re-check this page plus the Updates Hub before big spends.