Survive The Slope Obstacles & Hazards
Recognize threats early so distance cash is not wiped by one bad bounce.
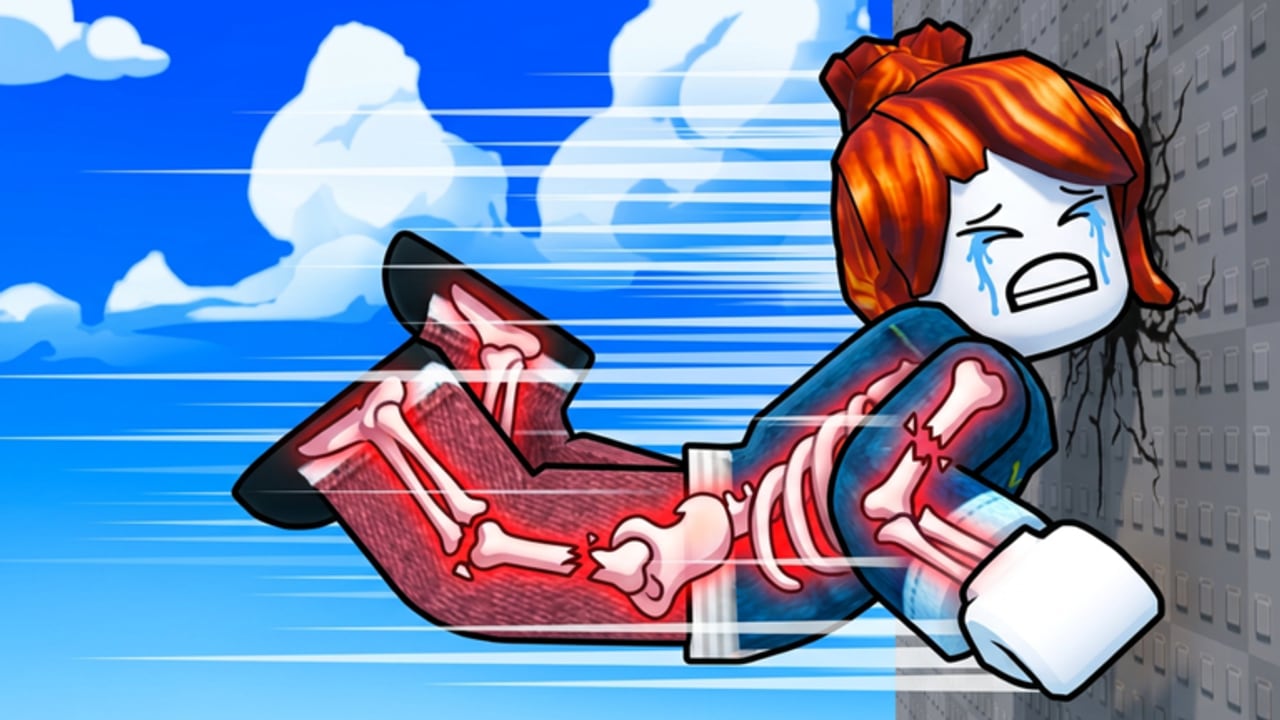
Obstacles are the main reason Survive The Slope runs end early. You slide for distance, convert distance into cash, and spend cash on upgrades—but none of that matters if the same hazard deletes you every attempt. This guide focuses on recognition, spacing, recovery, and how obstacles should change your upgrade order. It is written as community guidance grounded in the confirmed loop (slide, dodge, bones, cash, upgrades, leaderboard). Exact prop names can change after content updates, so always verify what you see in the live place.
New players should skim Getting Started and How to Play first, then practice with Controls until steering feels predictable on Desktop, Mobile, or Tablet. Return to the Players Hub when you need the broader systems map.
Why obstacles matter more than raw speed
Speed looks impressive on the first clean stretch, but Survive The Slope pays for survived distance. A reckless line that clips three hazards may travel far in screen space and still finish with broken bones, low health, and a truncated payout. A slightly slower line that stays centered often earns more cash and unlocks the next upgrade sooner.
Treat every obstacle as a tax on three resources at once:
- Health / survivability budget — impacts chip you down or end the run.
- Bone integrity — crashes and hard landings feed the bone-damage fantasy that defines StarBite Bones’ design language; see Bones for the damage mindset.
- Momentum quality — bad recoveries force overcorrections that cause the next hit.
If you only remember one rule: avoid compounding mistakes. Surviving the second hazard after a scrape is harder than dodging the first cleanly.
Hazard families (what to watch for)
Because the studio ships visual and item changes over time—see the mid-September Items notes on the Items update page—this wiki groups threats by behavior instead of hardcoding a fragile prop list.
1. Static blockers
Solid objects that sit on or beside the racing line. Community players usually fail these by staring at their avatar instead of the path two seconds ahead. Fix: lift your camera / focus point so you decide left/right before the blocker fills the screen.
2. Edge and drop threats
Sections where the safe ribbon narrows or the slope camber pushes you outward. Mobile players especially oversteer here. Use smaller stick/input pulses; see Controls for device-specific tips.
3. Bounce and redirect pads
Surfaces that launch or twist your trajectory. The danger is rarely the pad itself—it is the uncontrolled landing afterward. If a bounce throws you into a bone-breaking angle, take the slower approach next run and rebuild the line.
4. Dense clusters
Back-to-back hazards that punish greedy diagonal cuts. Clusters are where high-distance runners separate from casual players. Practice “one decision at a time”: clear the first gate, reset posture, then solve the second. The High-Distance Tips guide expands on pacing through dense segments.
5. Player traffic (soft hazard)
With up to six players per server, other avatars become moving obstacles. You cannot pause the physics for courtesy. Give wider berths near choke points, and do not assume someone else will yield. Leaderboard practice sometimes goes better in quieter servers—see Leaderboard Tips.
Dodge timing and input discipline
Community guidance that holds across patches:
- Look ahead, steer late-but-smooth. Early panic steering creates sine-wave paths that clip side props.
- Prefer one committed lane change over three micro-wiggles. Micro-wiggles feel safe but accumulate angle error.
- After a hit, stabilize before optimizing. Stop chasing the perfect racing line for half a second; get upright and centered.
- Know your device latency. Tablet and some mobile browsers feel softer than Desktop. Rebind or lower sensitivity if you overshoot every gap.
- Respect Auto Spin only as QoL. The Auto Spin pass (49 Robux) may reduce busywork, but it does not replace hazard reading. Pass rankings live on the game passes tier list.
Bones, health, and when to buy survivability
If obstacles are deleting most of your runs before mid-distance, cash spent on flashy income nodes is wasted. Community priority when hazard deaths dominate:
- Survivability / health-oriented upgrades first.
- Control or handling upgrades that shrink oversteer.
- Income multipliers once you can finish attempts reliably.
- Optional Robux: 2x Health (149R) if chip damage is the bottleneck; 2x Cash (149R) if you already survive but want faster shop progress.
Cross-check spend order with the Upgrade Planner and upgrade tier list. Full upgrade theory sits in Upgrades.
Recovery habits after a scrape
A scrape is not an automatic fail. Strong players treat it as a reset cue:
- Straighten the camera and avatar orientation.
- Choose the widest safe lane for the next second—even if it is slower.
- Delay aggressive cuts until health and bone state feel stable again.
- Mentally mark the obstacle that hit you and rehearse the earlier dodge on the next spawn.
Logging “which prop killed me” for five runs is more useful than watching a random montage. When you want a visual reference for slide feel, the gameplay clip embedded on the Players Hub is a solid orientation video—not a frame-perfect route bible.
How updates change obstacle reading
BCH Studios announced new Items around 16 September 2026 and Races (race friends farther down the slope) around 18 September 2026. Items can add tools that change how you approach a hazard; Races add social pressure that tempts greedy lines. After either drop:
- Re-walk the opening stretch slowly once.
- Note whether new objects alter bounce angles.
- Update your personal “do not cut here” list.
- Revisit Updates, Races update, and High-Distance Tips.
Practice plan (community)
- Ten short runs focused only on the first hazard cluster—ignore score.
- Ten runs focused on recovery after an intentional soft hit (learn stabilize timing).
- Five full attempts where you refuse any diagonal cut through a dense cluster.
- Review cash earned versus deaths; if deaths still dominate, open the Upgrade Planner before another long session.
- When consistent, shift goals toward Leaderboard ranks.
Related pages
- Systems overview: Players Hub
- Competition: Leaderboard Tips
- Mechanics: Bones, Controls, How to Play
- Progression: Upgrades, Tools, Tier List
- News: Updates, Links
- Status pages: Codes, Scripts
Stay skeptical of third-party “god mode obstacle maps” or paid scripts. No verified scripts were found for Survive The Slope—read Scripts before trusting any executor file.
Frequently Asked Questions
Quick answers for Survive The Slope players.
What should I do right after hitting an obstacle?
Stabilize first: straighten your line, take the widest safe lane for a moment, then resume optimizing. Chasing a perfect cut while tilted usually causes a second, worse hit.
Do Mobile and Desktop dodge the same way?
Physics are shared, but input feel differs. Mobile and Tablet often need smaller steer pulses. Use the Controls guide if you overshoot gaps.
Should I buy 2x Health because of obstacles?
Community guidance: buy 2x Health (149 Robux) only if chip damage or early deaths are your bottleneck. If you already survive long runs, 2x Cash or cash upgrades may help more.
Will the Items update change hazards?
BCH announced new Items and more around 16 September 2026. Items can change approaches even if the slope layout stays similar—re-learn opening clusters after each patch.
Are other players considered obstacles?
Yes in practice. Servers hold up to six players, so treat traffic as a soft hazard near choke points.